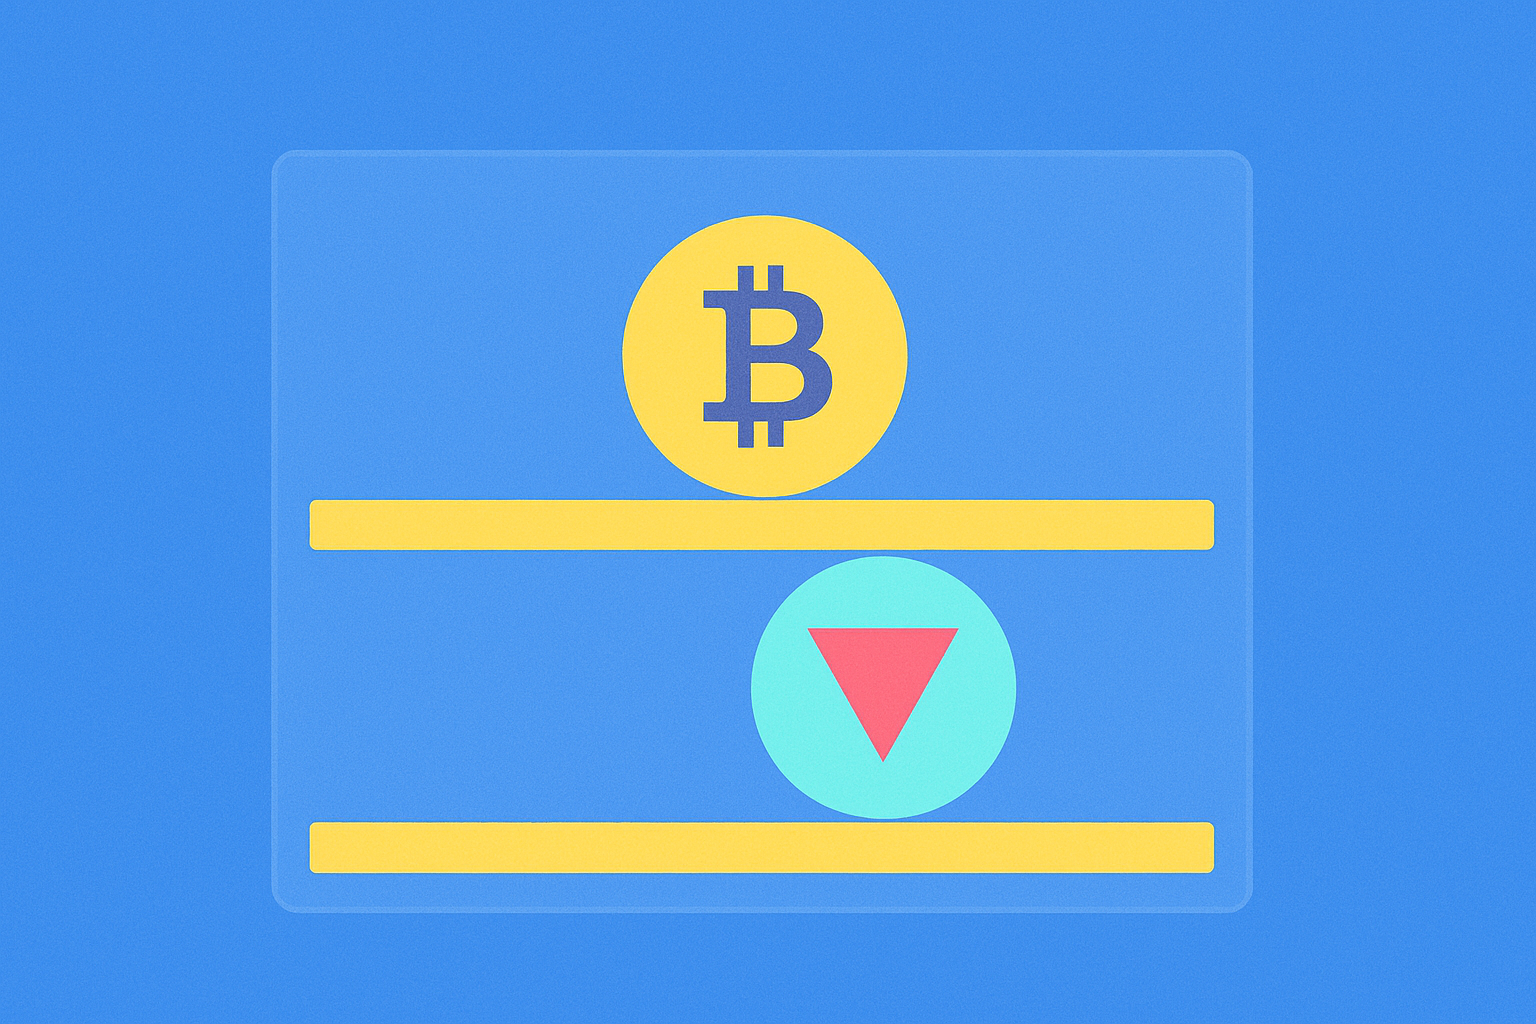
What Is Range Trading?
Range trading is a rule-based strategy where traders buy near support levels and sell near resistance levels within a horizontally moving price range. This approach focuses on "range boundaries" and disciplined execution, rather than attempting to predict market trends.
"Range" refers to the price oscillating back and forth within a defined zone over a period of time, without a clear upward or downward direction. You can picture the range as a room: the floor represents support (where buying interest is strong and price is less likely to fall further), and the ceiling represents resistance (where selling pressure is high and price struggles to rise further). The core of range trading is to plan entries and exits around these two zones.
Why Is Range Trading Worth Attention?
Range trading deserves attention because crypto markets are not always trending in a single direction—sideways or consolidating phases are common throughout the year and often last from several days to weeks. During these periods, trend-following strategies lose effectiveness, while systematic range operations help maintain consistency and manage risk.
For beginners, range trading offers several advantages: clearer boundaries, moderate decision frequency, and the ability to partially automate with trading tools. Compared to volatile trend periods, sideways markets allow for accumulating profits through multiple small take-profits. However, strict risk management is still essential to avoid losses from false breakouts.
How Does Range Trading Work?
The principle behind range trading is that during relatively balanced supply and demand, price repeatedly tests support and resistance, responding accordingly. Buyers become more aggressive near support; sellers dominate near resistance. As long as neither side decisively breaks the balance, price returns into the range.
"False breakouts" are frequent in ranges—these occur when price briefly breaches a boundary but quickly returns inside the range. For example, if a token’s range is $100-$110 and a long upper wick pushes to $112 but closes back at $109, chasing that breakout may result in losses. Key techniques for identifying and handling false breakouts include waiting for candle close confirmation, monitoring trading volume, and pre-setting stop-losses.
How To Execute Range Trading?
Range trading can be executed in structured steps:
Step 1: Choose Your Timeframe. Select a timeframe you can actively monitor, such as 1-hour or daily candles. Shorter timeframes generate more signals but also more noise.
Step 2: Draw the Range. Identify recent swing highs and lows to plot resistance and support; at least 2-3 valid touches make a boundary more reliable. Use horizontal zones near closing prices rather than single spikes.
Step 3: Plan Your Trades. Define entry criteria (bounce near support, rejection near resistance), stop-loss levels (a set distance outside the boundary), and take-profit targets (close to the opposite boundary).
Step 4: Order Placement. Prefer placing limit orders near boundaries instead of chasing price in the middle of the range. On Gate, you can use planned orders with both take-profit and stop-loss for better discipline.
Step 5: Risk Management. Limit risk per trade to 1%-2% of your account; determine position size based on stop-loss distance. Use leverage cautiously and favor isolated margin to prevent risk spillover.
Step 6: Confirm and Filter Signals. Combine volume analysis with candlestick closes for filtering; heavy volume and long wicks at boundaries often signal higher likelihood of false breakouts.
Step 7: Responding to Breakouts. If a breakout is confirmed (price holds above/below the boundary with strong volume), stop trading within the range and wait for retests or new structure before acting.
Range trading benefits from tools that improve execution and risk control. Commonly used features include price alerts, limit orders, take-profit/stop-loss functions, and semi-automated strategies.
On Gate, you can set price alerts for support and resistance levels to avoid missing boundary signals. With take-profit/stop-loss and planned order functions, you can pre-set buy limit orders near support with defined exits, reducing emotional decisions during live trading.
Gate’s grid trading feature allows you to set the upper and lower range as grid boundaries, letting the system auto-buy low and sell high within the range. Be aware that once a genuine breakout occurs, you should promptly close or adjust your grid to avoid passive losses in a trending market.
Reviewing Gate’s order book depth and trade volume helps assess changes in buying/selling pressure at boundaries. To gauge volatility strength, use indicators like ATR (Average True Range), which measures average price movement per period—useful for setting more rational stop-loss distances.
How To Identify Ranges and Key Levels?
The key to identifying ranges and critical levels is having boundaries "validated by market action," not just subjective drawing.
Method 1: Touch Count. Support/resistance levels that have been tested 2-3 times with clear reactions are more reliable.
Method 2: Closing Price Focus. Boundaries based on zones near closing prices are more dependable; single candle wicks often indicate false breakouts that need confirmation from volume and subsequent moves.
Method 3: Volume Analysis. Volume tends to be stable inside the range; sudden spikes at boundaries signal battles between buyers and sellers—watch for possible breakouts or fakeouts.
Method 4: Multi-Timeframe Analysis. Draw broader ranges on higher timeframes (e.g., daily chart), then execute trades on lower timeframes (e.g., hourly) for clearer structure.
How To Set Position Size and Stop-Loss in Range Trading?
Position sizing and stop-loss placement determine your error tolerance and profit consistency in range trading. The principle is to place stop-losses "outside the structure" and size positions "based on risk per trade."
A common method is placing stops a reasonable distance outside support/resistance—such as 1x to 1.5x recent volatility (using ATR or average recent swings).
Calculate position size based on account risk: if you’re willing to lose no more than 1% per trade with a 2% stop-loss distance, your position should not exceed 50% of your account size. Set take-profits near the opposite boundary, aiming for at least a 1:1.5 or 1:2 risk-reward ratio.
Mind fees and slippage—frequent entries/exits require considering transaction costs; trade more active pairs during liquid sessions for best results.
How Does Range Trading Compare With Trend Trading?
The main difference is "boundary reversion" vs "trend following." Range trading involves buying low/selling high within sideways zones; trend trading goes with clear directional momentum.
Range strategy win rates rely on boundary validity and discipline, accumulating many small profits; trend strategies profit mainly from catching large directional moves. Tool-wise, range trading emphasizes horizontal support/resistance zones and order management, while trend trading uses moving averages, swing highs/lows, and pullback entries. Both can be alternated according to market conditions.
Common Pitfalls and Risks in Range Trading
Primary risks include false breakouts and changes in structure. Pitfalls include entering trades in the middle of the range, neglecting stop-losses, overly subjective boundary drawing, excessive leverage usage, or ignoring news events.
Be cautious around major macro announcements or project upgrades; illiquid tokens may see boundaries pierced by single large orders; grid strategies may incur losses if trends emerge unexpectedly. All trading involves risk—sound capital management and contingency planning are essential.
Key Takeaways on Range Trading
Range trading is a framework centered on support/resistance boundaries—best suited for periods of contracting volatility or unclear trends. Key points include: using multiple tested highs/lows to define boundaries; entering/exiting with limit orders near edges; controlling drawdown with take-profit/stop-loss settings and fixed per-trade risk; filtering signals with volume/candle close analysis to avoid false breakouts; pausing range operations after valid breakouts until new structure forms. Gate’s price alerts, planned orders, and grid strategies can enhance execution stability—but all tools require solid risk management rules.
FAQ
How do you distinguish real from false breakouts in a ranging market?
A genuine breakout is usually accompanied by significantly higher volume; false breakouts often occur on low volume. Observe whether price can hold above/below the breakout level and continue making new highs/lows afterward. Avoid chasing early breakouts—wait for a retest confirmation before entering to reduce getting trapped by fake moves.
How should you decide between long or short positions during ranging periods?
Apply a "sell high, buy low" approach—short near resistance, long near support. The key is strict adherence to your defined boundaries: if price breaks above resistance or below support, close your position or reverse it immediately. This style suits short-term traders but demands frequent monitoring and strong discipline.
What account size is needed for effective range trading?
There’s no strict minimum account size; success hinges on prudent position sizing. Whether your account is large or small, keep single-trade losses within 1-2% of your capital. On major platforms like Gate, you can flexibly adjust order sizes and leverage to match your needs—but never over-leverage.
After a breakout from the range, do old support/resistance levels still matter?
Yes—their roles typically reverse. After an upward breakout, former resistance often becomes new support; after a downward break, former support acts as new resistance. Price frequently retests these levels after a breakout—recognizing this helps you join new trends at their early stages.
What market conditions suit range trading best?
Range trading works best when prices oscillate clearly between well-established support/resistance zones—often seen before trends start or during corrections. If consolidation drags on for over three months or daily moves are too small (less than 1% change), profit potential diminishes. Moderate volatility within a defined range provides optimal results.